
The Battle of Brier Creek was an American Revolutionary War battle fought on March 3, 1779 near the confluence of Brier Creek with the Savannah River in eastern Georgia. A Patriot force consisting principally of militia from North Carolina and Georgia was surprised, suffering significant casualties. The battle occurred only a few weeks after a resounding American Patriot victory over the British at Kettle Creek, north of Augusta, reversing its effect on morale.
Background[]
Following the entry of France into the American Revolutionary War in 1778, the British focused their attention on the American South, which they had not paid great attention to in the early years of the war. The British began their "southern strategy" by sending expeditions from New York City and Saint Augustine, East Florida to capture Savannah, Georgia late in 1778. The New York expedition, under the command of Lieutenant Colonel Archibald Campbell, arrived first, and successfully captured the town on December 29, 1778.[4]
British occupation of Augusta[]
When Brigadier General Augustine Prevost arrived from Saint Augustine in mid-January, he assumed command of the garrison there, and sent a force under Campbell to take control of Augusta and raise Loyalist militia companies.[5]
Leaving Savannah on January 24, Campbell and more than 1,000 men arrived near Augusta a week later, with only minimal harassment from Georgia Patriot militia on the way. Augusta had been defended by South Carolina General Andrew Williamson leading about 1,000 militia from Georgia and South Carolina, but he withdrew most of his men when Campbell approached. This rear guard skirmished with Campbell's men before withdrawing across the Savannah River into South Carolina.[6]
Campbell then began recruiting Loyalists. About 1,100 men signed up, but relatively few actually formed militia companies. Campbell then began requiring oaths of loyalty, on pain of forfeiture of property; many took this oath insincerely, quickly letting Williamson know their true feelings. Campbell also anticipated but did not receive Indian support while at Augusta, and was concerned that a recruiting expedition into the Carolinas by Loyalist John Boyd, might not succeed in raising a large supporting force.[7] The arrival of more than 1,000 North Carolina Patriot militia under General John Ashe in Williamson's camp prompted Campbell to decide on February 12 to abandon Augusta. Two days later, the same day that Boyd's force of 600–700 was defeated in the Battle of Kettle Creek, Campbell withdrew from Augusta and began marching back toward Savannah.[8][9]
Campbell leaves Augusta[]
Campbell did not find out about the Kettle Creek battle until after he had already left Augusta. During the occupation of Augusta, he had suffered only a single casualty, but the means of that loss was cause for anger among his regulars. One of the 71st Regiment men had been assigned as a "safeguard" in a private residence, a position normally out of bounds to attack in European warfare. This soldier had been killed by Patriot partisans, and neither Williamson or Lincoln wanted to prosecute them for the violation.[8]
Campbell led the troops south until they reached Ebenezer, burning the bridge across Brier Creek on the way. At Ebenezer he turned command of the column over to General Prevost's younger brother, Lieutenant Colonel Mark Prevost, and headed down the river to return to England.[10] General Ashe trailed after Campbell, and on February 26 camped near the confluence of Brier Creek and the Savannah River, about 15 miles (24 km) to the north. Ashe set his men to repairing the bridge.[11][12] While encamped there, he was joined by about 200 light cavalry and some additional light infantry units, swelling his force to about 1,300 men.
Geography[]
Brier Creek itself is a riverine watercourse traversing much of eastern Georgia between the Ogeechee River and the Savannah River. It arises between Warrenton in Warren County and Thomson in McDuffie County in the lower portion of the Piedmont. The upper portion of the creek is surrounded by open pit kaolin mines as it passes through the fall line. From there it enters the upper coastal plain and courses down past towns like Wrens and Waynesboro before joining the Savannah River in eastern Screven County near Sylvania. This waterway has a length of approximately 80 miles (130 kilometers). In many places along the length of its course it is 30 to 50 feet (9 to 16 meters) in width. Near its mouth it is sometimes as broad as 80 feet (25 meters). Much of the lowest portion of the creek is bordered by the Tuckahoe Wildlife Management Area, which contains a significant portion of the battlefield.

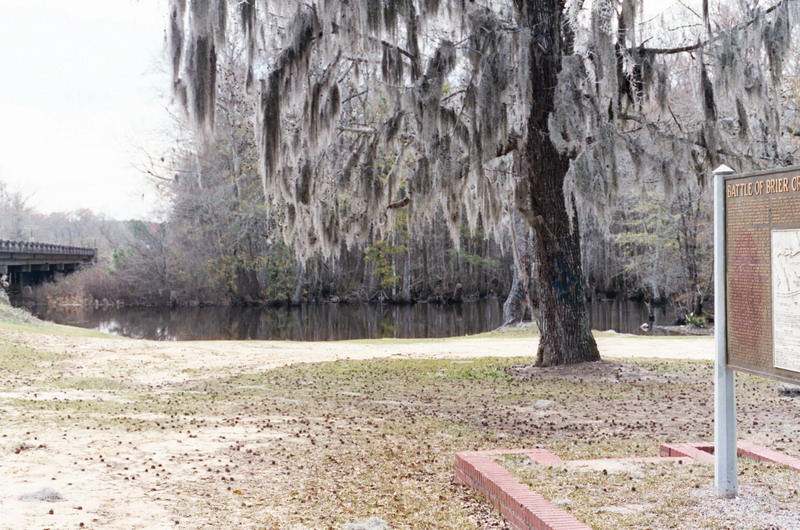
Site of the battle at present-day Brannen's Bridges. In the foreground is the historical marker for the battle site. Brier Creek can be seen in the background.
The joining of Brier Creek with the Savannah River forms a significant geographic constraint upon movement in that area between the forks formed by the creek and river. The land surrounding the creek and river is often swampy, and movement across both waterways is greatly constrained. This lay of the land contributed to the location and consequences of the battle.
Prelude[]
The site at which Ashe made his camp has been criticized by contemporary sources and modern historians. With its back to the creek and swampy lands, its front presented no particular opportunities for defense.[13] Ashe's adjutant, William Bryan recognized some of these problems, and after Ashe left camp on February 28 to attend a war council at Purrysburg, Bryan moved the camp about one mile (1.6 km) north, nearer the Savannah River and a small hill.[12] Ashe returned to the camp on March 2.[14]
Turning the American flank[]


Marker commemorating the British crossing at Paris' Mill. The bridge at the mill site was burned down by retreating Patriot forces and the advancing British demolished the home and or millhouse of Francis Paris, whose timbers were used to construct a crossing over Brier Creek.
Colonel Prevost decided to execute an attack plan devised by Campbell before he left. This plan involved making a large loop, crossing over Brier Creek at a bridge further north and west, and then moving south and trapping Ashe's men on the triangle of land where the creek and the river met. A decoy force would demonstrate at the destroyed bridge site to distract Ashe's men.
On March 1, the decoy force, about 500 men including regulars and militia, openly marched north until they were with three miles (4.8 km) of the burned-out bridge, and made camp there. That night, about 900 experienced troops drawn primarily from the 71st Regiment and James Baird's light infantry companies and also including five field pieces and a number of experienced militia units, including members of the Florida Rangers. They made a rapid march north to the Paris Mill bridge.
Arriving around 10:00 am the next morning, they found the bridge destroyed, and set about building a temporary bridge to get their equipment across. Concerned that they might be discovered, Prevost sent Baird's light infantry and a company of light dragoons to ford the river the night of March 2. They acted as a screen against discovery of the ongoing work, and cut off Ashe's escape route. Prevost's full party had crossed the river by dawn on March 3. While participants later disagreed on whether or not patrols from Ashe's camp were aware of the British movement, he took no particular action to guard against the possibility.
Battle[]
On the afternoon of March 3, a rider galloped into the American camp, warning of the British approach. While the exact amount of time they had to deploy is uncertain, the relatively hurried nature of their deployment was clear. The number of troops that actually formed up was about 900, as a number of troops had been dispatched to the south for scouting, and others were on duty at the burned-out bridge. Distribution of ammunition to the men was complicated by the shortage of cartouche boxes and varying musket calibers. When the American lines were finally formed, the left side was flanked by Brier Creek, but there as a large gap on the right side, between the end of the line and the river. The left was held by the North Carolina New Bern regiment, the center by a combination of Georgia militia and Continental Army units under Samuel Elbert, and the right was held primarily by the North Carolina Edenton regiment.

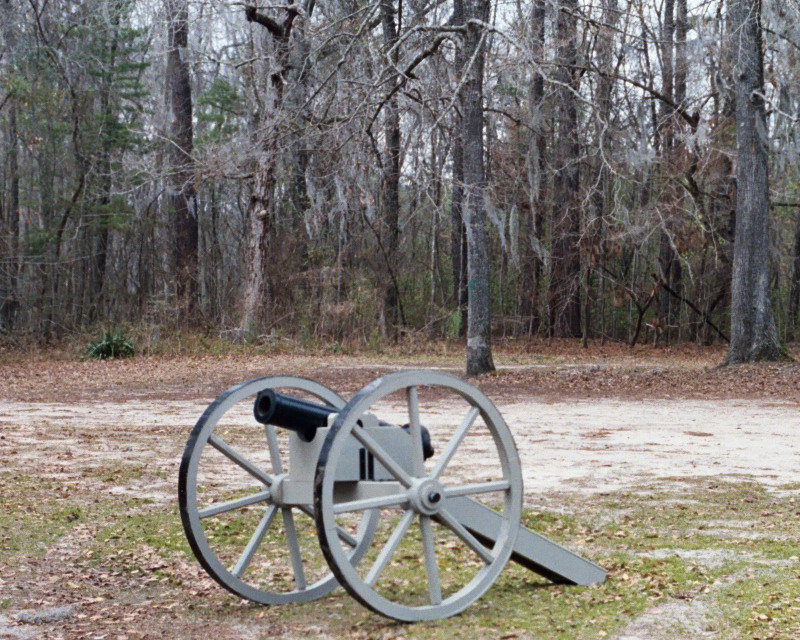
Replica of a cannon of the type used in the battle.
Prevost's troops approached in three columns. Baird's light infantry were on the left, the 1st battalion of the 71st was in the center, and Carolina provincials and "rangers" formed the right. Prevost held in reserve the light dragoons and grenadiers. Both sides opened fire at long range, and then Elbert's men moved forward to close the range. Two things then occurred to create a gap in the American line. Elbert's men drifted left as they advanced, partially screening the fire from the New Bern men, and British cavalry threatened the right, drawing the Edenton men away from the center. Seeing this opening, Prevost ordered his men to fix bayonets and charge.
Most of the Patriot militia did not have bayonets. Seeing the British charging at them, many broke and ran without even firing a shot. The Edenton men fired a few rounds, and then abandoned the fight. Elbert's Continentals held formation in the center while the militia around them fled for the swamps, and were eventually surrounded, forcing Elbert to surrender. The 200 men at the bridge came up to the battlefield late in the fighting, but quickly withdrew before getting drawn into the rout.
Aftermath[]
The British counted five killed and eleven wounded. The carnage on the American side was never fully tallied, as many militiamen retreated all the way back to North Carolina, and an unknown number drowned in the swamps. Prevost claimed that 150 American bodies were found on the battlefield, and that 227 captives were taken, mostly from Elbert's Continentals.


State historical marker commemorating the battle. Picture taken March 3, 2007, the 228th anniversary of the battle.
Anthony Lytle, the commander of the American light infantry, dispersed his men to avoid capture. General Ashe was seen riding after the militia companies, and was widely blamed for the disaster, often amid claims that he led the retreat. A court martial acquitted him of charges of cowardice, but did convict him of failure to secure his camp.
William Moultrie, in his memoirs of the war, wrote that the loss at Brier Creek extended the war by a year and made possible the British invasion of South Carolina in 1780.[15]
Local historical markers and battle site images[]
")
")
")
Notes[]
- ↑ Wilson, p. 93
- ↑ Wilson, p. 92. Ashe had an additional 400 troops that did not participate in the battle.
- ↑ Wilson, p. 96
- ↑ Russell, pp. 100–103
- ↑ Ashmore and Olmstead, p. 86
- ↑ Wilson, pp. 84–86
- ↑ Wilson, p. 87
- ↑ 8.0 8.1 Wilson, p. 89
- ↑ Hall, p. 84
- ↑ Wilson, p. 90
- ↑ Wilson, p. 91
- ↑ 12.0 12.1 Howard, p. 486
- ↑ Ashmore and Olmstead, p. 102
- ↑ Ashmore and Olmstead, p. 103
- ↑ Howard, p. 477
References[]
- Ashmore, Otis; Olmstead, Charles (June 1926). "The Battles of Kettle Creek and Brier Creek". JSTOR 40575848.
- Hall, Leslie (2001). Land and Allegiance in Revolutionary Georgia. Athens, GA: University of Georgia Press. ISBN 978-0-8203-2262-9. OCLC 247101654.
- Howard, Joshua (Winter 2004). ""Things Here Wear a Melancholy Appearance": The American Defeat at Briar Creek". JSTOR 40584769.
- Morrill, Dan (1993). Southern Campaigns of the American Revolution. Baltimore, MD: Nautical & Aviation Publishing. ISBN 978-1-877853-21-0. OCLC 231619453.
- Russell, David Lee (2000). The American Revolution in the Southern Colonies. Jefferson, NC: McFarland. ISBN 978-0-7864-0783-5. OCLC 248087936.
- Wilson, David K (2005). The Southern Strategy: Britain's Conquest of South Carolina and Georgia, 1775–1780. Columbia, SC: University of South Carolina Press. ISBN 1-57003-573-3. OCLC 232001108.
Further reading[]
- Hollingsworth, Dixon. The History of Screven County, Georgia: Topical Section T14; The Battle of Brier Creek, pages 12–15. Curtis Media Corporation, 1989.
- Hollingsworth, Clyde D. Pioneer Days: A History of the Early Years In Screven County Part II, The Battle of Brier Creek, pages 9–12. The Partridge Pond Press; Sylvania, Georgia, 1947, 1975, 1979, 1993.
External links[]
- Revolutionary War in Georgia: 1779
- Battle of Brier Creek State Historical Marker
- Battle of Briar (BRIER) Creek
- Pages 353 & 354 - An Historical Account of the Settlements of Scotch Highlanders in America Prior to the Peace of 1783
- Pages 343 to 345 - The History of South Carolina in the Revolution, 1775-1780
- Pages 363 & 364 - History of South Carolina
- Pages 295 & 296 - The Pictorial History of the American Revolution; with a sketch of the early history of the Country
- Bridge over Brier Creek at Millhaven - site of skirmish at Paris' Mill, March 2, 1779 - is at coordinates 32°56′00″N 81°39′02″W / 32.933397°N 81.650646°W
The original article can be found at Battle of Brier Creek and the edit history here.