
The Battle of Waxhaws (also known as the Waxhaws or Waxhaw Massacre, and Buford's Massacre) took place during the American Revolutionary War on May 29, 1780, near Lancaster, South Carolina, between a Continental Army force led by Abraham Buford and a mainly Loyalist force led by Banastre Tarleton. The American commander refused an initial demand to surrender, but when his men were attacked by Tarleton's cavalry, many of them threw down their arms to surrender. Accounts differ on significant details, Buford apparently then attempted to surrender, but his surrender was either rejected or not received (Tarleton possibly having been incapacitated at that time). Tarleton's men continued killing the Patriot soldiers, including men who were not resisting.
Little quarter was given to the Patriots. Of the 400 or so Continentals, 113 were killed with sabres, 150 so badly injured they could not be moved, and only 53 prisoners taken by the British and Loyalists. "Tarleton's quarter" thereafter became a common expression for refusing to take prisoners, and in some subsequent battles in the Carolinas few of the defeated were taken alive by either side.
Background[]
Following the British defeat at Saratoga in 1777 and French entry into the American Revolutionary War in early 1778, the British military decided to embark on a "southern strategy" to win back their rebellious North American colonies. The campaign began in December 1778 with the capture of Savannah, Georgia, and gained further ground in 1780, when General Sir Henry Clinton brought an army south and captured Charleston, South Carolina on May 12, 1780.[2]
Prelude[]
Colonel Abraham Buford commanded a force of about 380 Virginian Continentals (the 3rd Virginia Detachment (composed of the 7th Virginia Regiment, two companies of the 2nd Virginia Regiment and an artillery detachment with two six-pounders).[1] Most of his men were raw recruits with little battle experience, although Buford did have experienced officers under his command. Due to delays in outfitting his command, Buford had been unable to reach Charleston to participate in its defense.[3] Charleston's commander, General Benjamin Lincoln, had ordered him to take a defensive position near Lenud's Ferry on the Santee River outside the city, but Lincoln surrendered around the time Buford reached this position. Buford was eventually joined by about 40 Virginia Light Dragoons who had escaped the siege or during battles outside the city, and by Richard Caswell's North Carolina militia. Receiving news of the surrender, Buford was ordered by General Isaac Huger to return to Hillsborough, North Carolina. He turned his column around and headed north.[1][4] At Camden, Buford and Caswell parted ways, with Buford heading north into the Waxhaws region. Buford was accompanied for a time by South Carolina Governor John Rutledge, who had been actively recruiting militia in the backcountry. When Buford stopped to rest his troops at Waxhaw Creek, Rutledge rode ahead toward Charlotte, North Carolina.[5]
General Clinton learned of Huger's force and Rutledge's presence, and on May 15 ordered Lord Cornwallis to bring the South Carolina and Georgia backcountry under British control.[3] His army moving too slowly to keep up with Buford, Cornwallis on May 27 sent Lieutenant Colonel Banastre Tarleton in pursuit with a force of about 270 men. Tarleton commanded the British Legion, a primarily Loyalist provincial regiment. The force he took in pursuit of Buford consisted of 170 Legion and British Army dragoons, 100 mounted British Legion infantry, and a three-pounder cannon.[1][5] Tarleton reached Camden late on May 28, and set off in pursuit of Buford around midnight the next morning.[5] By that afternoon, his advance force of 60 dragoons from the 17th Light Dragoons and the British Legion cavalry, 60 mounted infantry from the British Legion, and an additional flanking force of 30 British Legion dragoons and some infantry, had reached Buford's resting place. Buford had, however, been warned of Tarleton's pursuit, and had begun moving north, and was 2 miles (3.2 km) up the road.
Battle[]
Tarleton sent Captain David Kinlock forward to the rebel column, carrying a white flag, to demand Buford's surrender. Upon his arrival, Buford halted his march and formed a battle line while the parley took place. Tarleton hugely exaggerated the size of his force in his message—claiming he had 700 men—hoping to sway Buford's decision. The note also stated firmly to Buford, "Resistance being vain, to prevent the effusion of human blood, I make offers which can never be repeated", indicating that Tarleton would ask only once for Buford to surrender. Buford refused to surrender with the message: "I reject your proposals, and shall defend myself to the last extremity."[6] Buford then reformed his troops into a column, and continued the northward march, with his baggage train near the front of the column. Tarleton, arguably in violation of accepted rules of war, had continued his march while the parley took place.[6]
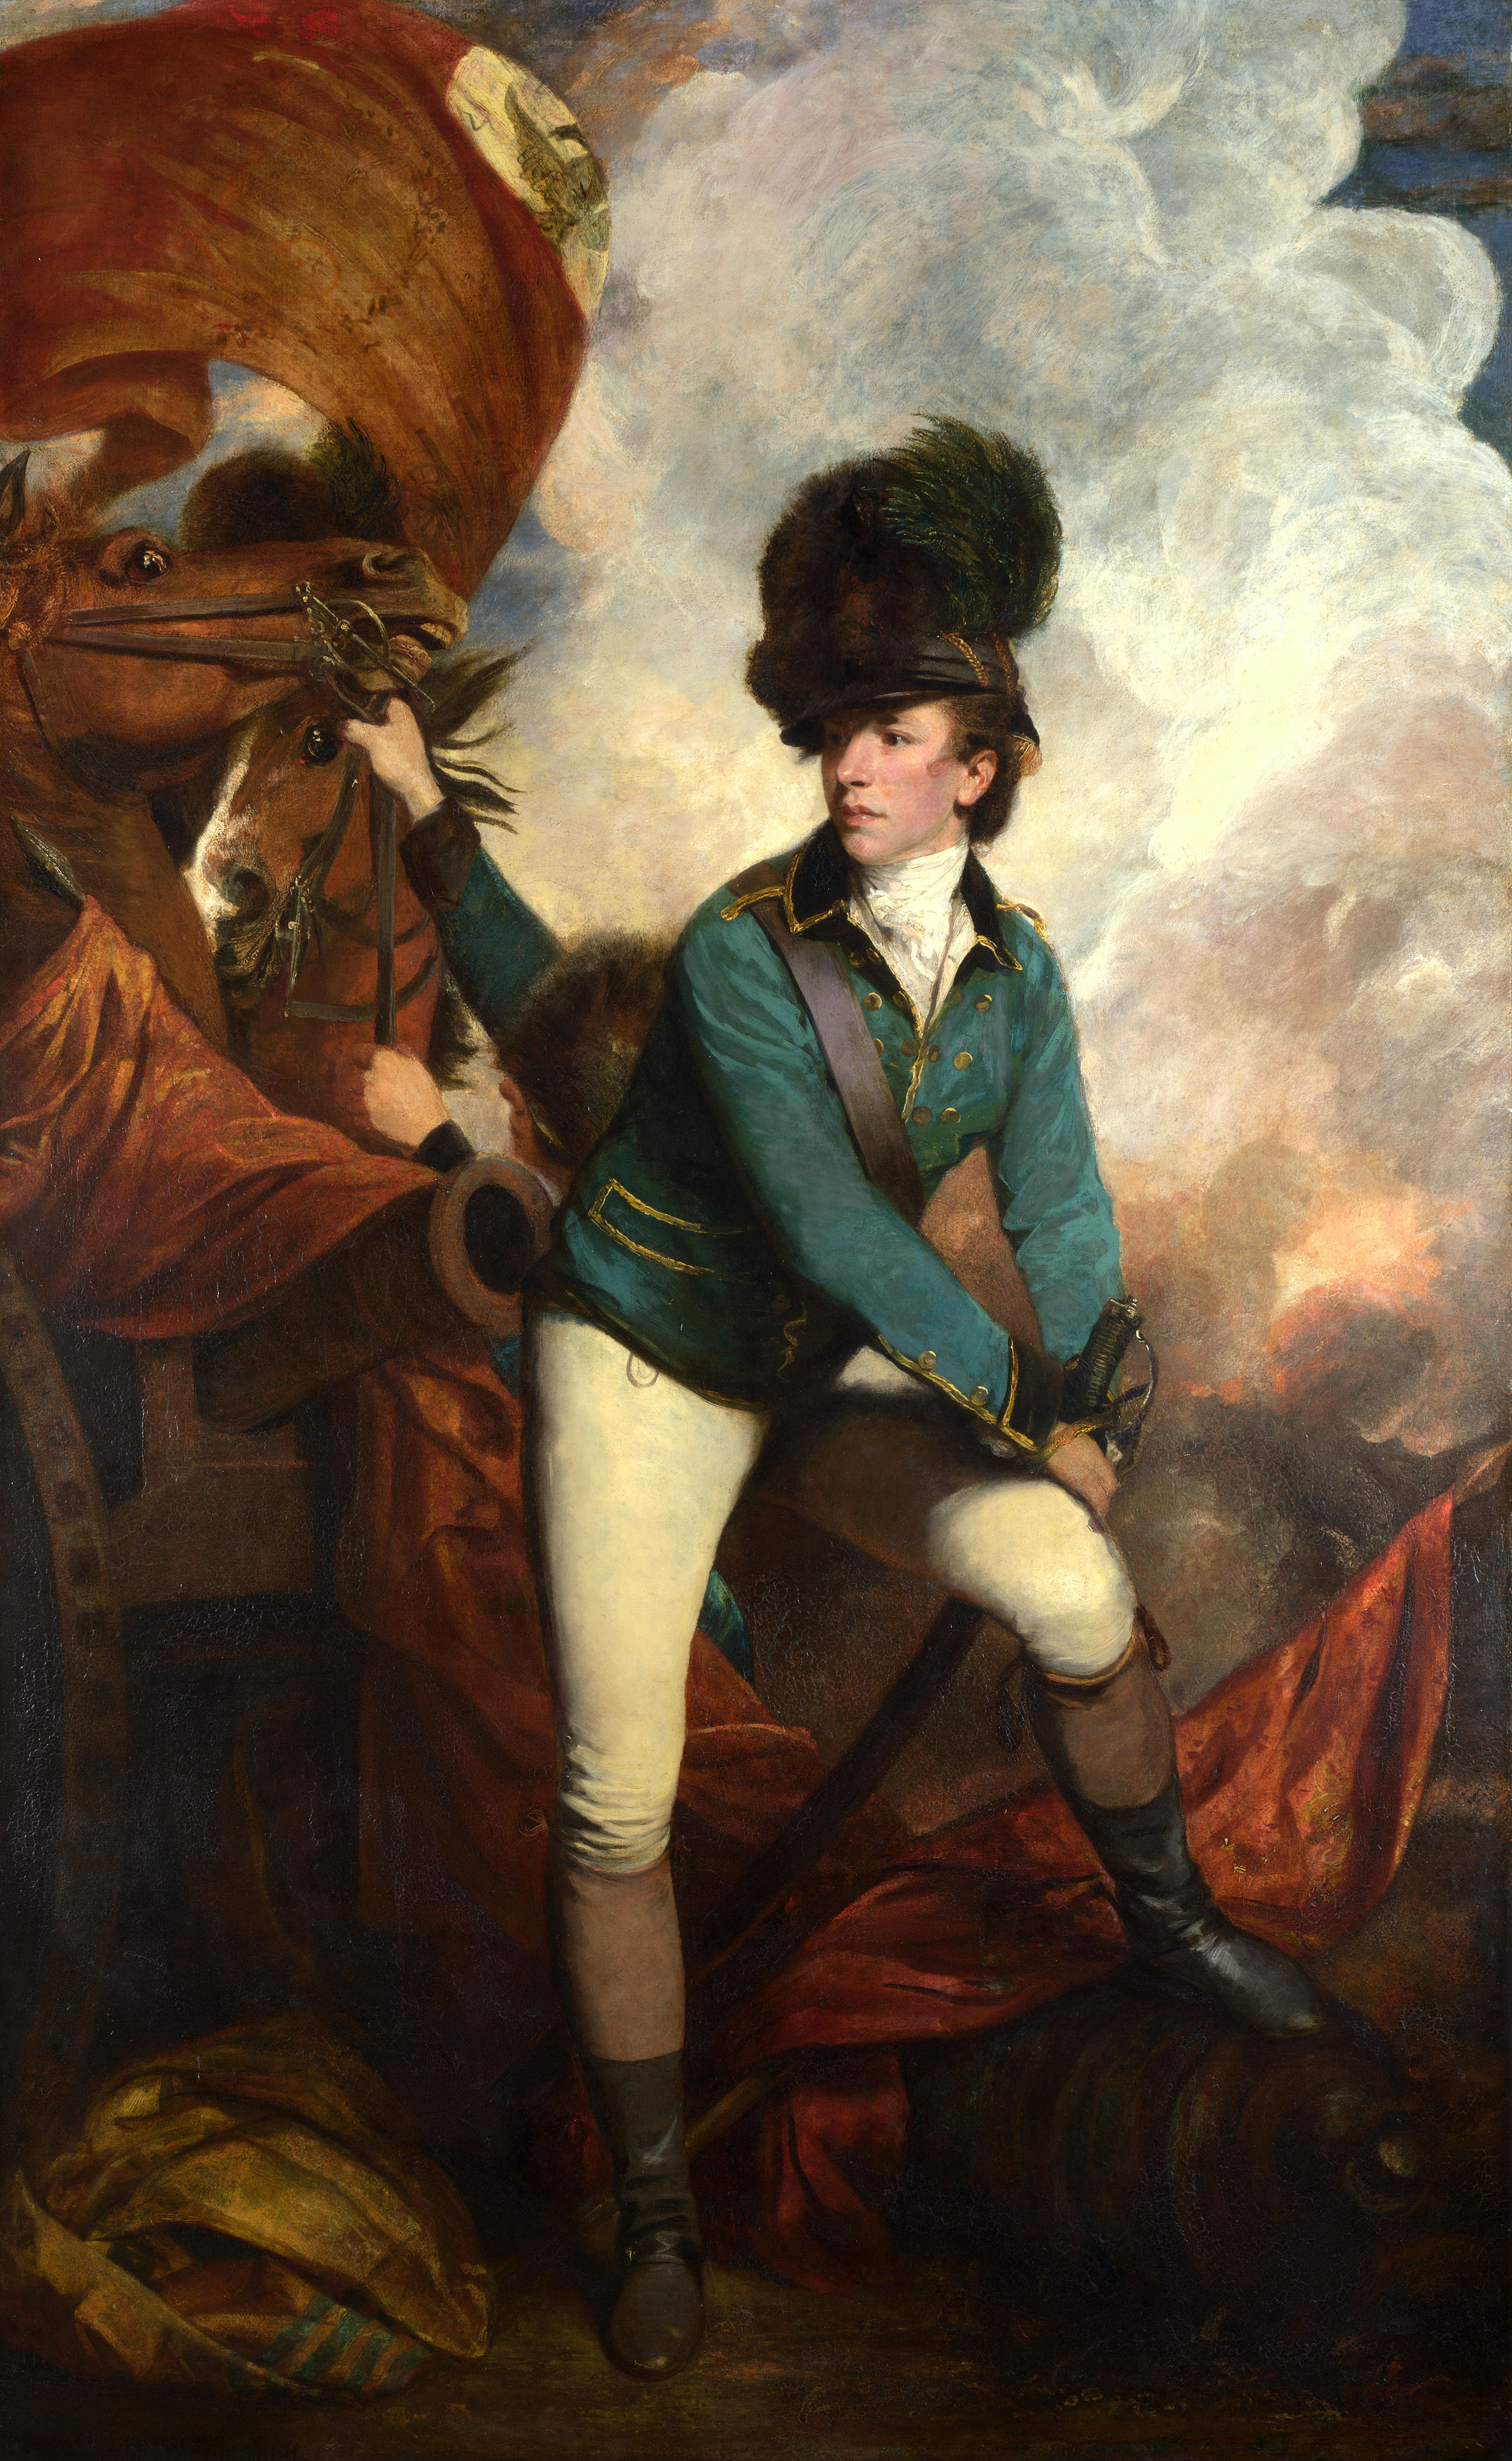

Lieutenant-Colonel Banastre Tarleton by Joshua Reynolds.
Around 3:00 pm the leading edge of Tarleton's force caught up with Buford's rear guard. According to a Patriot eyewitness, a field surgeon named Robert Brownfield, the five dragoons of the rear guard were captured, and their leader, Captain Pearson, was "inhumanely mangled" by saber cuts, some inflicted after he had fallen.[6] Buford stopped the column (except for the artillery and the baggage, which he ordered to continue on), and formed a single battle line near some open woods.[7][8] Tarleton, some of whose horses were so tired out from the pursuit that he was unable to bring his field artillery into range, established a command post on a nearby hill, and organized his forces for the attack. According to his account of the battle, he arrayed 60 British Legion dragoons and a like number of infantry on the right, the dragoons of the 17th along with some additional British Legion dragoons in the center, and he personally took command of the left, commanding "thirty chosen horse and some infantry".[7] Stragglers were to form a reserve corps atop the hill.[7]
What happened next is the subject of much debate, due to the controversial nature of the events and significant inconsistencies in the primary accounts. Tarleton's line charged, and Buford waited until the enemy was within 10 yards (9.1 m) before giving the order to fire.[7] This was a tactical mistake on Buford's part, for it enabled Tarleton's formations to hold, while only giving Buford's men time to fire a single volley before the British riders were attacking the line.[9] As Tarleton's cavalry tore Buford's inexperienced line to pieces, many of the Americans began laying down their arms and offering to surrender. According to Patriot accounts, Buford, realizing the cause was lost, dispatched a white flag toward Tarleton in an attempt to surrender. However, Tarleton had been unhorsed (exactly when differs among the accounts), and may never have received it. Although it is clear from Patriot accounts that a flag was sent, they differ both on who carried it, and how its messenger was treated. What is also apparent is that fighting continued on both sides even though the flag was visible, and the conflicting Patriot accounts (none of the British accounts of the battle mention the flag) agree that flag was effectively refused. Buford and some of his cavalry then escaped the battlefield.[10]
By conventional historical accounts, Tarleton's unhorsing gave some of the Loyalist cavalry the impression that the rebels had shot at their commander while asking for mercy, and they began what became a slaughter. According to the Patriot surgeon Brownfield, whose account was written many years after the war, the Loyalists attacked, carrying out "indiscriminate carnage never surpassed by the most ruthless atrocities of the most barbarous savages". Tarleton's men stabbed the wounded where they lay, regardless of implied surrender, for fifteen minutes after the battle had ended.
According to Tarleton's report of the battle, the American rebel casualties were 113 men killed, 147 wounded and released on parole, and the 2 six pounders and 26 wagons captured. The British losses were 5 killed, 12 wounded, with 11 horses killed and 19 horses wounded. Tarleton's men were also able to recover the American baggage train.
Historians in the 19th century blamed Tarleton for the massacre, even though most contemporary references to it did not describe it as such.[11] Tarleton in his report to Cornwallis described the battle as a "slaughter", but claimed that his men, thinking their commander dead, engaged in "a vindictive asperity not easily restrained" after he was unhorsed. William Moultrie noted that the lopsided casualty count was not unusual for similar battles in which one side gained a decided advantage early in a battle. Historian Jim Piecuch argues that the battle was as much a massacre as similar events led by Patriot commanders.[12] David Wilson, on the other hand, holds Tarleton responsible for the slaughter, noting that it represented a loss of discipline, something Tarleton would have been responsible for maintaining. (Tarleton had been reprimanded for transgressions by his men at the Battle of Moncks Corner in April, and a Cornwallis aide, Charles Stedman, wrote of British actions at Waxhaws that "the virtue of humanity was totally forgot.")[13]
Aftermath[]
After the battle, the wounded were treated at nearby churches by the congregants, one of whom was a young Andrew Jackson.[14] Tarleton claimed that after the battle ended, the wounded of both sides were treated "with equal humanity" and that the British provided "every possible convenience".[8] Due to the large number of wounded, people from all over the countryside came to assist in their care. They learned of what had happened, and news of the apparent violation of quarter on Tarleton's part spread rapidly through the region.[15]
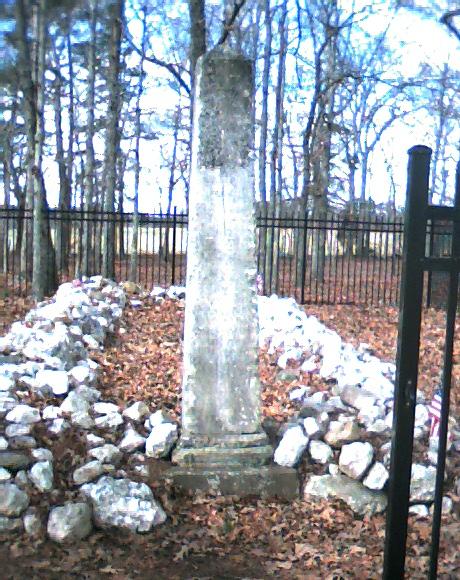

Monument and mass grave at the battle site
The battle, at least temporarily, consolidated British control over South Carolina, and Patriot sentiment was at a low ebb. General Clinton, among other acts before he left Charleston for New York, revoked the parole of surrendered Patriots. This affront (technically violating accepted "rules of war"), and reports of this battle, may have changed the direction of the war in the South. Many who might have stayed neutral flocked to the Patriots, and "Tarleton's Quarter!" and "Remember Buford" became rallying cries for the Whigs. News of the massacre was also directly responsible for the creation of volunteer militia forces among the "over-mountain men" (from the Wataugan settlements at and near Sycamore Shoals). These militia participated in actions against British Loyalists at both the Battle of Musgrove Mill on August 18, 1780 (near present-day Clinton, South Carolina) and in the decisive defeat of British Major Patrick Ferguson's command on October 7, 1780 at Kings Mountain (near present-day Blacksburg, South Carolina).
Legacy[]
The community in which the battlefield is located is now called Buford. The battlefield is owned by Lancaster County, and is preserved as a local park.[16] It was listed on the National Register of Historic Places as the Buford's Massacre Site in 1990.[17]
In the 2000 movie The Patriot, Heath Ledger's character Gabriel Martin is wounded in a battle that takes place not long after the fall of Charleston. Gabriel states afterward that "Gates ordered us to march straight at the Red Coats". Horatio Gates was not present at Waxhaws, and the American column was marching away from the British at Waxhaws, not toward them. This is likely a reference instead to the August 16, 1780 Battle of Camden, in which Gates was defeated in another lopsided victory by Cornwallis.
See also[]
- List of massacres in South Carolina
Notes[]
- ↑ 1.0 1.1 1.2 1.3 Wilson, p. 260
- ↑ See e.g. Wilson chapters 6-11 for details on the British campaigns between 1778 and May 1780.
- ↑ 3.0 3.1 Wilson, p. 251
- ↑ Scoggins, p. 41
- ↑ 5.0 5.1 5.2 Scoggins, p. 44
- ↑ 6.0 6.1 6.2 Wilson, p. 253
- ↑ 7.0 7.1 7.2 7.3 Wilson, p. 254
- ↑ 8.0 8.1 Scoggins, p. 45
- ↑ Piecuch, p. 8
- ↑ Piecuch, pp. 8–9
- ↑ Piecuch, p. 5
- ↑ Piecuch, p. 9
- ↑ Wilson, p. 259
- ↑ Meacham p. 11
- ↑ Scoggins, p. 46
- ↑ "Park Directory". Lancaster County Government, South Carolina. http://mylancastersc.org/index.asp?Type=B_BASIC&SEC={398DAD9C-E829-40F6-960D-8539F8732DCA}&DE=. Retrieved 2011-08-03.
- ↑ "Buford's Massacre Site listing". South Carolina Department of Archives and History. http://www.nationalregister.sc.gov/lancaster/S10817729019/index.htm. Retrieved 2011-08-03.
References[]
- Buchanan, John. The Road to Guilford Courthouse: The American Revolution in the Carolinas (1999)
- Piecuch, Jim (October 2004). "Massacre or Myth? Banastre Tarleton at the Waxhaws, May 29, 1780". pp. pp. 4–10. http://www.southerncampaign.org/newsletter/v1n2.pdf.
- Scoggins, Michael C (2005). The Day It Rained Militia: Huck's Defeat and the Revolution in the South Carolina Backcountry, May–July 1780. Charleston, SC: The History Press. ISBN 978-1-59629-015-0. OCLC 60189717.
- Wilson, David K (2005). The Southern Strategy: Britain's Conquest of South Carolina and Georgia, 1775–1780. Columbia, SC: University of South Carolina Press. ISBN 1-57003-573-3. OCLC 232001108.
External links[]
The original article can be found at Battle of Waxhaws and the edit history here.