| 13th (Western) Division | |
|---|---|
 | |
| Active |
World War I 21 August 1914 - March 1919 |
| Country | United Kingdom |
| Branch | New Army |
| Type | Infantry |
| Engagements |
Battle of Gallipoli Battle of Sari Bair Battle of Chunuk Bair |
The 13th (Western) Division was one of the Kitchener's Army divisions raised from volunteers by Lord Kitchener. It fought at Gallipoli and in Mesopotamia (including the capture of Baghdad) and Persia during the First World War.
Service During The Great War[]
1914 - 1915[]
The 13th Division was formed as part of the First New Army at Salisbury Plain in August 1914. During the formation of the division, Major-General Robert Kekewich was appointed as its first commander. However, on 5 November 1914, he committed. suicide.[1] Although initially meant for service in France, with the rest of the Kitchener New Armies, it was detailed to be sent to the Mediterranean as reinforcements for the Anglo-French expedition at Gallipoli.[2]
1915: Gallipoli[]
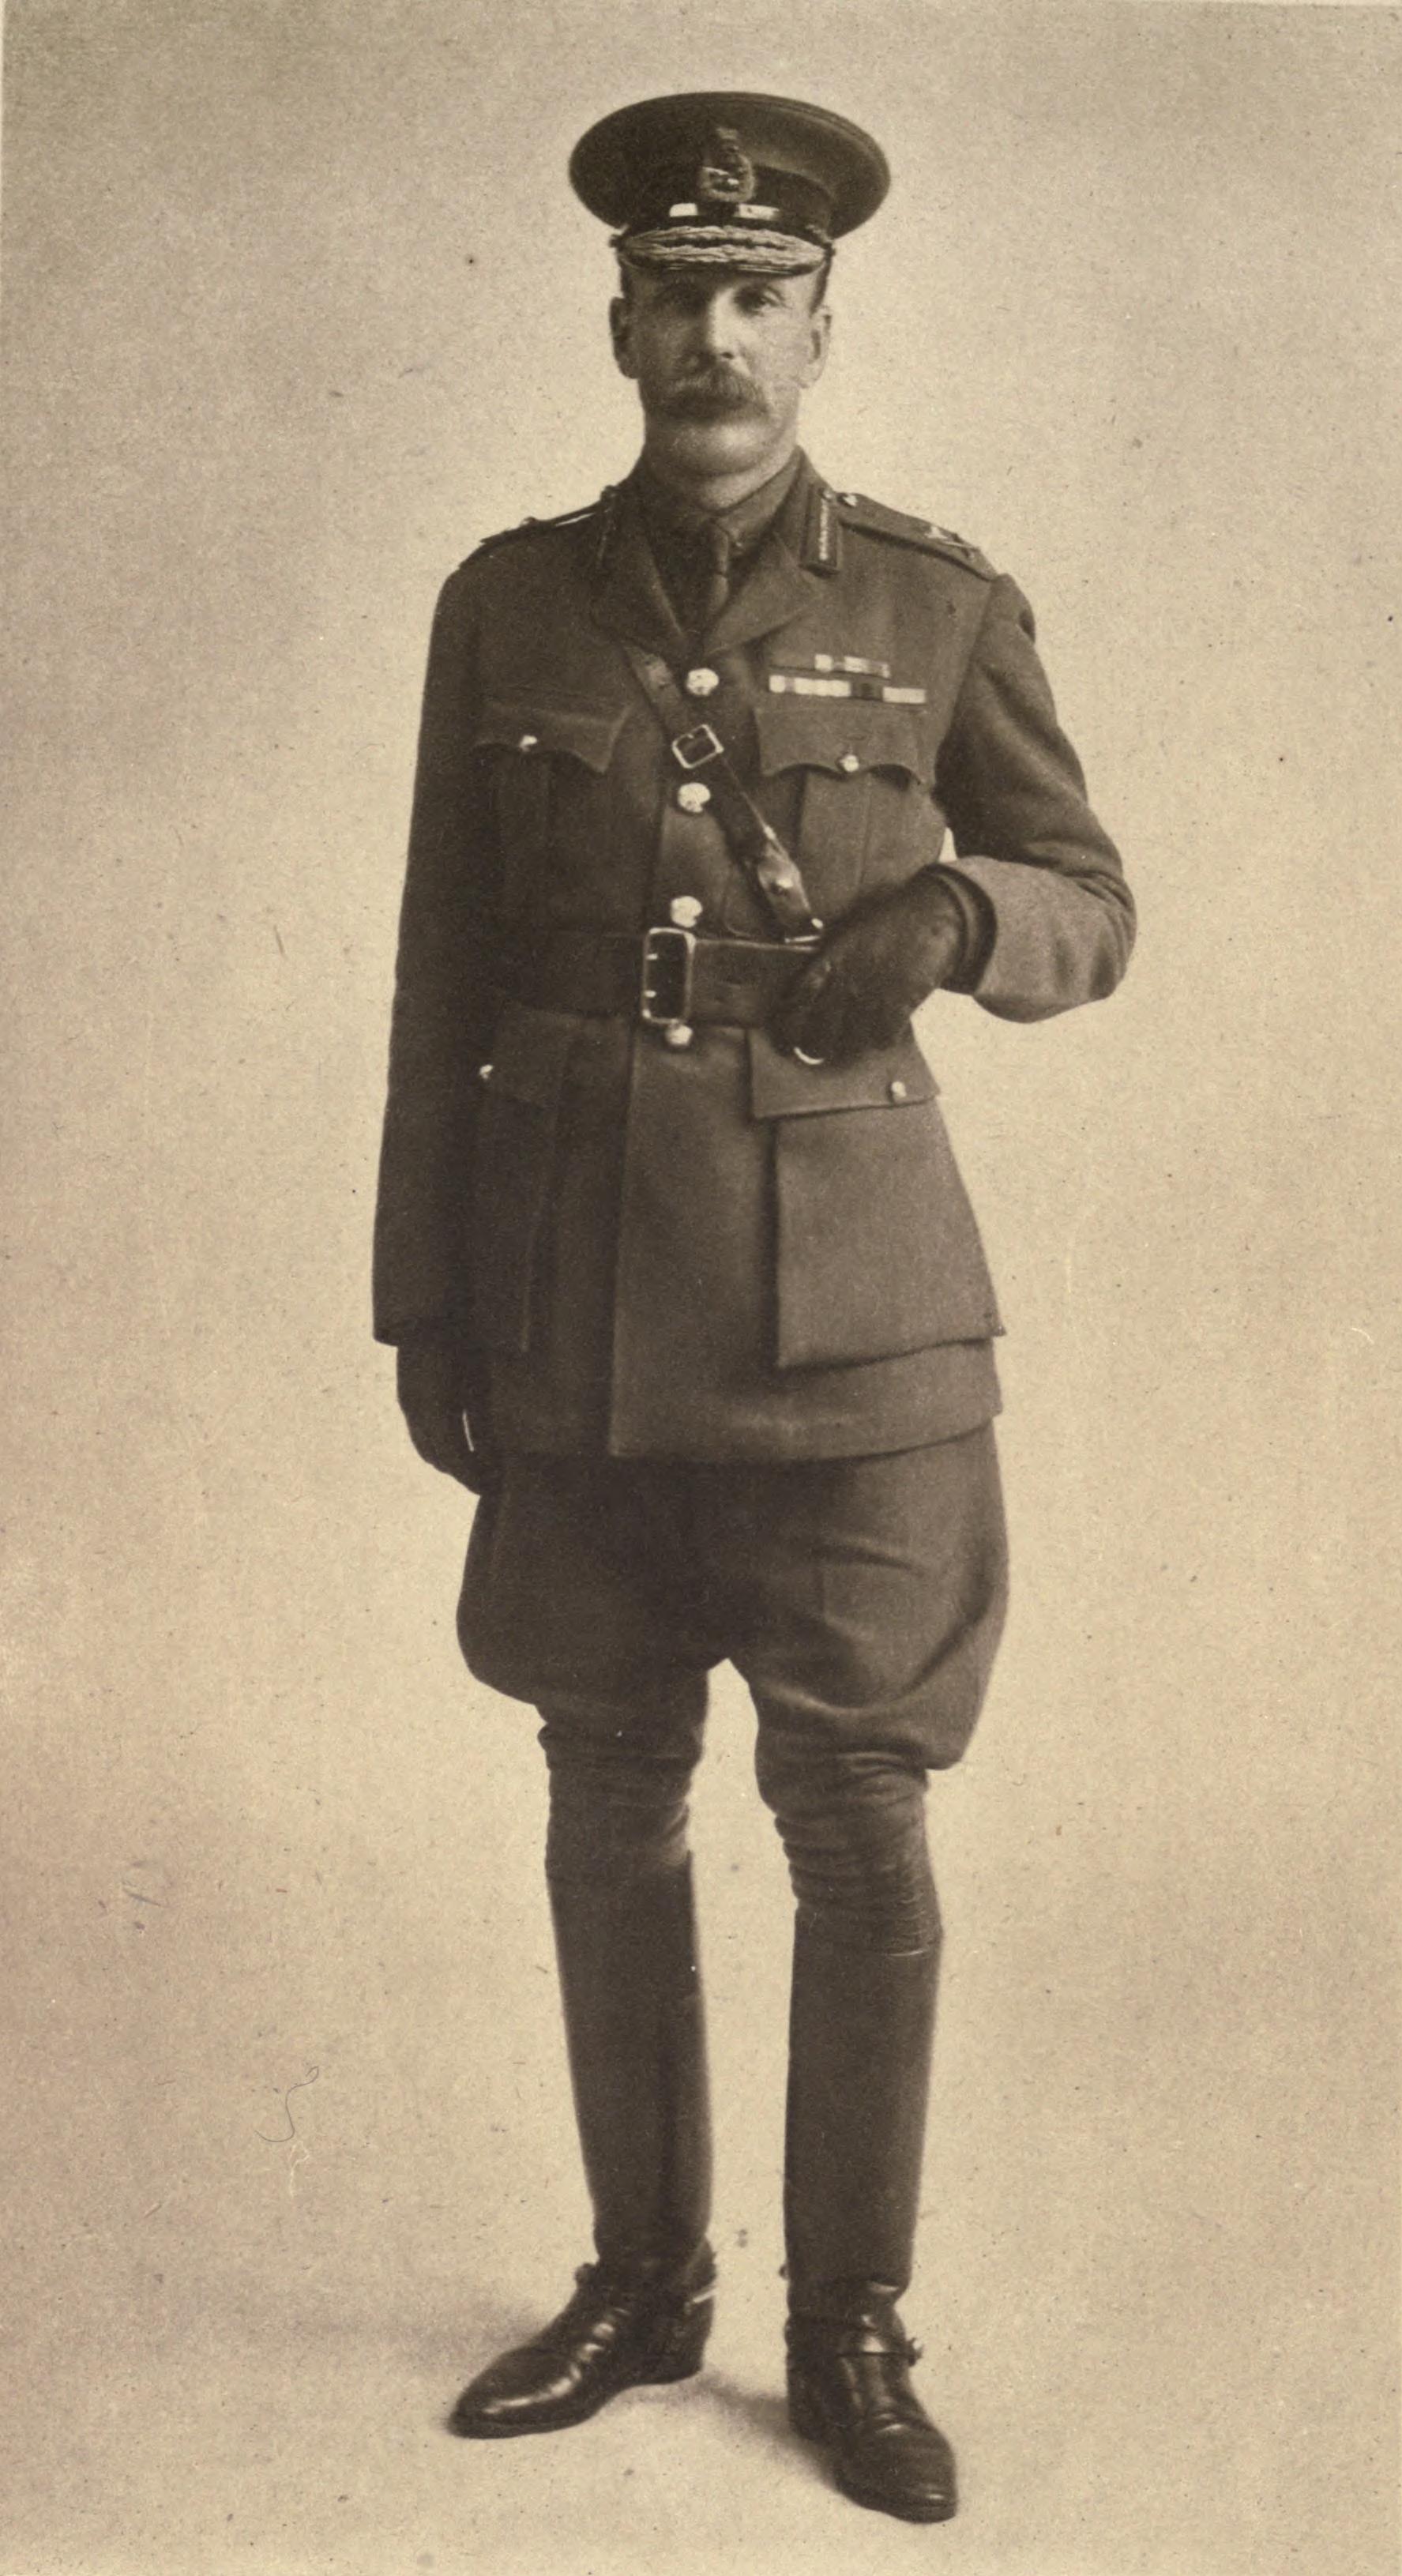
Lieutenant General Sir Stanley Maude, KCB, CMG, DSO. Photograph of Sir Stanley Maude after his elevation to commander of Mesopotamian Expeditionary Force. Maude, as a Major-General, commanded the 13th Division during Gallipoli Campaign and the unsuccessful relief of Kut in the Mesopotamian Campaign
The 13th Division had landed at Anzac on the Gallipoli peninsula in July 1915 in preparation for the August Offensive that was launched on 6 August. Although all of its component infantry battalions arrived, the Division's artillery would not arrive for some months.[3] Initially in reserve to the main breakout from Anzac by units of the New Zealand and Australian Division, the 38th and 39th Brigades were sent in as reinforcements as the attack stalled.
The 7th Gloucesters and the 8th Royal Welch Fusiliers were sent to support the Wellington battalion of the New Zealand Infantry Brigade when it made the decisive assault on Chunuk Bair on the morning of 8 August.[4]
Battalions of the division formed the core of the force (known as "Baldwin's Brigade" after the commander, Brigadier General Anthony Baldwin) to capture Hill Q on 9 August but were not in position in time and so spent the day encamped on a small plateau beneath Chunuk Bair known as "The Farm". When the Turks counter-attacked on the morning of 10 August the division's troops on Chunuk Bair and at The Farm, about 3000 men, were decimated.[5]
By September 1915, the 13th Division as a whole had suffered nearly 6,000 killed, wounded, or missing out of its original strength of 10,500. Of the thirteen battalion commanders, ten had become casualties.[6] During September, Major-General Sir Stanley Maude had been assigned to take over the shattered 13th Division.[7]

View of Gallipoli from the battleship HMS Cornwallis. The smoke is coming from the British and Commonwealth stores being burned during the evacuation.
At the beginning of October the Division was moved from Anzac to Suvla Bay. Even though the Division was once again in reserve, it was still taking daily casualties from the Turkish Artillery.[8] However, by this time the high command already realized that the Dardanelles Campaign was a lost cause. To Maude fell the task of making sure that the 13th Division slipped away in the night during the evacuation of the Suvla Bay positions. Maude, ever the methodical commander, would record,
I do not think we left behind us £200 worth of stuff worth having. I got away all my guns and ammunition and we even destroyed the sandbags which we had to leave in the parapets by ripping them with bayonets or clasp knives to make them useless. The withdrawal was apparently a complete surprise for the Turks, for nothing happened on either night beyond the usual sniping and firing. In a way I could not help feeling a little sorry that they did not find us out, for my division had two strongly prepared lines, each with an excellent field of fire to fall back upon, and if they had only come on we should have given them a real good dressing.[9]
After being evacuated from Suvla, the 13th Division was ordered to reinforce the British forces at Cape Helles. However, no sooner than the division had arrived through W Beach, than the decision to evacuate this last foothold. As the Division was preparing to fall back to the beaches, it was attacked by Turkish units in the late afternoon and evening of 7 January 1916.[10] The main thrust of the attack, the first action under the Division's new commander, fell on the 39th Brigade, and in particular the 7th North Staffords defending Fusilier Bluff, who drove off the attackers.
The British evacuation from the Helles would occur on the night of 8–9 January 1916. Maude's division, fresh from its defensive victory began to fall back to Gully Beach at 5 p.m. By 1:15 a.m., the last detachments holding the division's trenches were on the beach waiting to be loaded onto the transports. However, at 2:30 a.m., Maude was informed that there would not be enough transports coming to Gully Beach to carry off the 13th Division. Maude and his headquarters staff, as well as the pickets that had been covering the beach site, had to make the two mile run in the dark to W Beach in order to be transported out of the Helles.[11]
In evaluating the units under his command, General Birdwood wrote that he considered the 13th Division was the best division in the Dardanelles Army.[12] Following its withdrawal, the 13th Division was sent to Egypt to refit and reequip while higher command would decide where it was needed. Upon arrival in Egypt, the 13th Division was finally reunited with its artillery units, many of which had been stationed in Egypt while the rest of the division had been fighting in Gallipoli.[13] By the time the Division was concentrated in Egypt, a need had already been identified for it. In February 1916, the division would be sent to Mesopotamia (modern day Iraq) to reinforce the Tigris Corps.
1916 - 1918 Mesopotamia[]

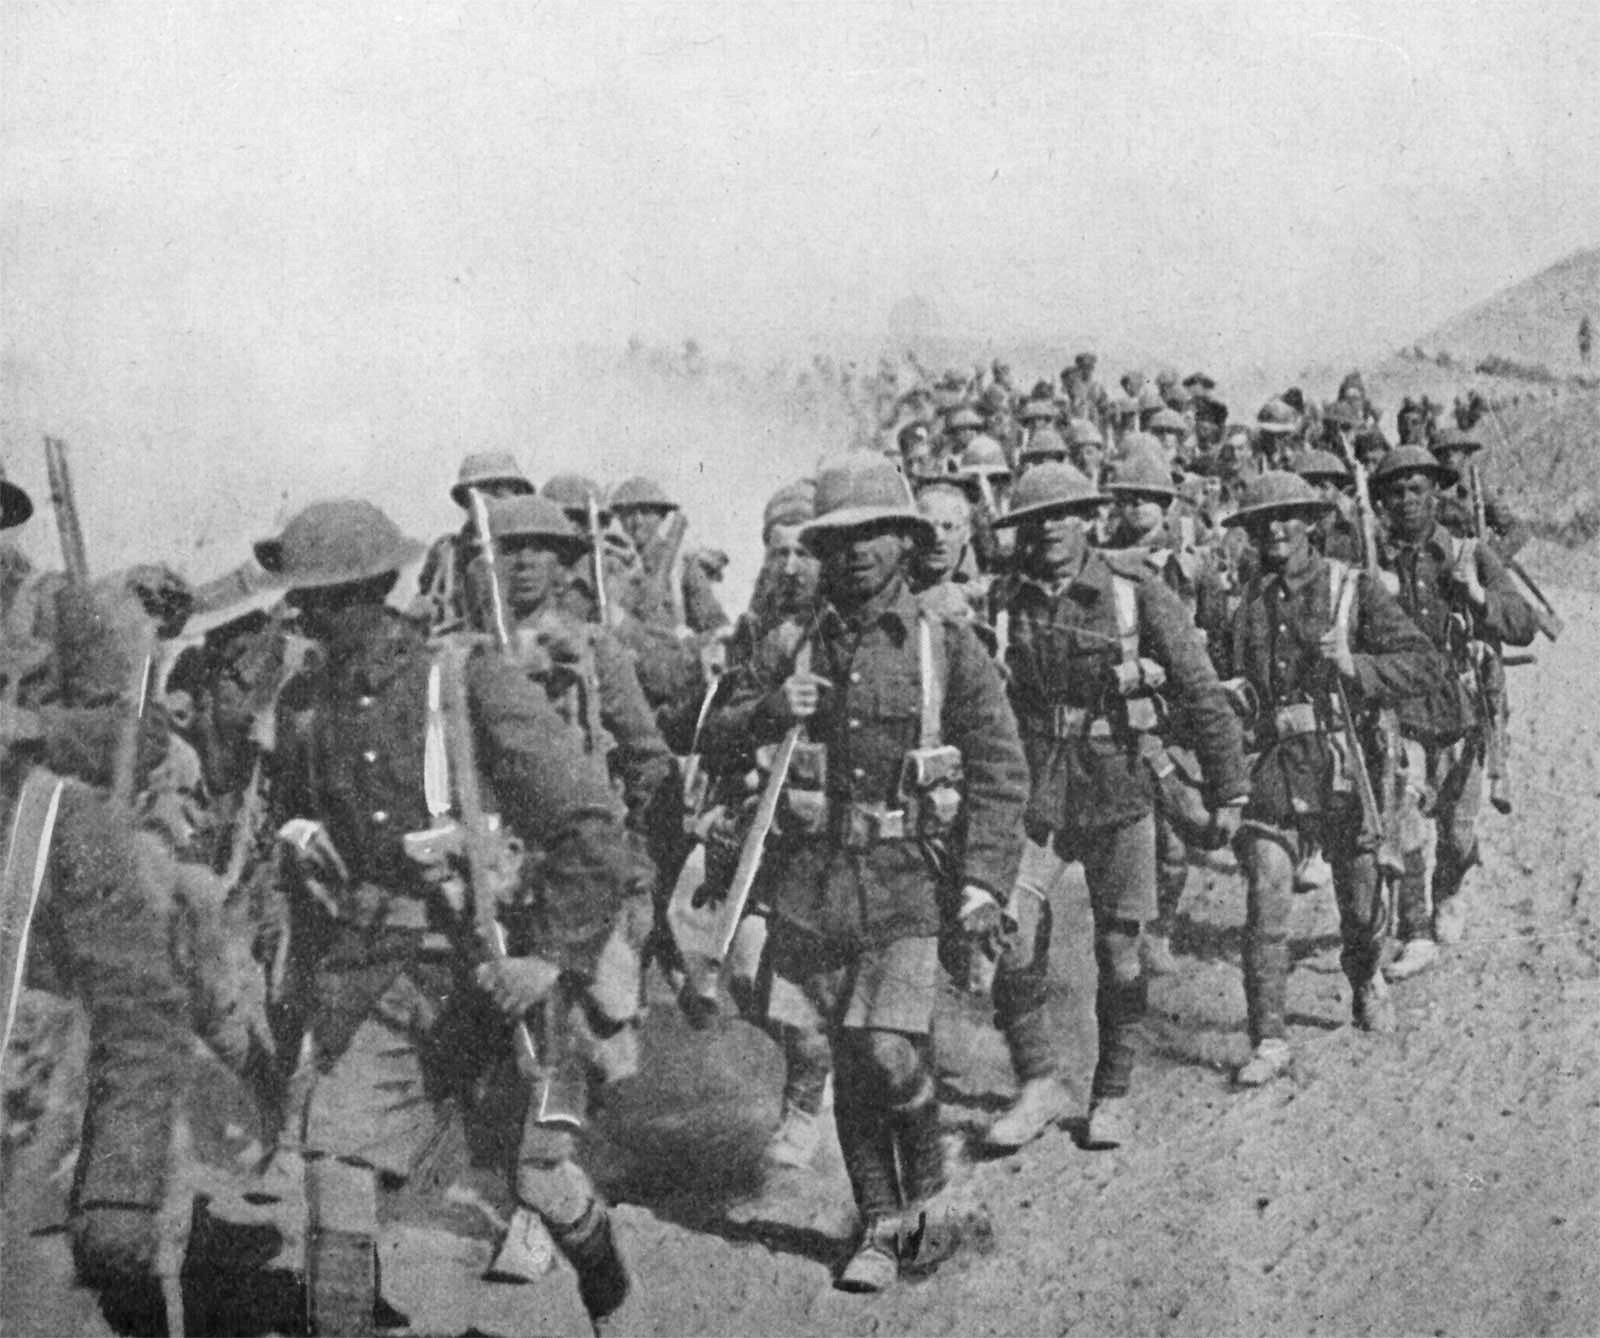
British troops, possibly from the 13th Division, on the march in Mesopotamia. This picture, possibly taken in 1917 because of the prevalence of steel helmets, show British soldiers on the march in Mesopotamia.
Relief of the Kut Garrison (March to April 1916)[]
After a brief refit in Egypt where the Division's battalions were being brought back up to strength, the Division was dispatched to Mesopotamia (modern day Iraq), as reinforcements for Anglo-Indian forces attempting to relief the siege of Kut. It would take until the end of March for the entire division to make the journey from Egypt to Basra and then from Basra up to the Tigris to join the rest of the Tigris Corps.[14]
Once in theater, the 13th Division would discover that the logistical situation in Mesopotamia was a mess. The port facilities at Basra were inadequate. Lacking good roads or a railway, virtually everything traveled by river. However, there were insufficient numbers of boats to keep the Anglo-Indian force which the 13th Division was joining adequately supplied.[15] However, what the 13th Division did bring with it was the modern, heavy artillery, including howitzers.
The 13th Division, as the strongest unit available, became the spearhead the Tigris Corps' attempt to relieve the Kut garrison beginning on 6 April 1916. The division would fight at Hanna, Fallahiya, and Sanniyat. After taking the first two, the 13th Division would be stopped by the Turkish forces under the overall command of Khalil Pasha at the Battle of the Sanniyat on 9 April 1916. During the fighting 5–9 April 1916, the 13th Division would see four of its soldiers be awarded the Victoria Cross. The first was Captain Angus Buchanan for his actions on 5 April 1916. On 9 April 1916, Lieutenant Edgar Myles, Private James Fynn and Chaplain William Addison would all be awarded the Victoria Cross for saving wounded soldiers.[16] In three days of battle, the division would be reduced to 5328 effectives.[17]
Exhausted by its three days of fighting, the 13th Division became the reserve for the Tigris Corps during the next phase of the operation. On 16 April 1916, it supported the 7 (Lahore) Division on the right bank of the Tigris, as it captured the Bait Isa line, part of the Es Sinn defenses supporting the Sanniyat position on the opposite bank. Taking the Bait Isa line would expose the flank of the Sanniyat position to enfilading artillery and machine-gun fire. However, on the night of 16–17 April 1916, the Khalil Pasha committed his reserves to a counter-attack to retake Bait Isa. The counter-attack struck as the 13th Division was preparing to storm the Turk's next defensive position. Although the 13th Division and 7th (Lahore) Division hung on to their gains, the Turkish counter-attack had taken the steam out of the Anglo-Indian offensive.[18]
With the 13th Division's ranks depleted, it was reduced to providing machine-gun and artillery fire for the 3rd (Meerut) Division when it made the final push to break the Turkish lines at the Sanniyat. On 22 April 1916, the division's artillery and machine-guns were used to support the 3rd (Meerut) Division's doomed attack.[19][20]
On 29 April 1916, following the Tigris Corps' failure to break the Turkish siege and the sinking of the steamer Julnar as it attempted to steam upriver past the Turkish defenders, the Kut garrison surrendered.[21] The 13th Division would spend the rest of the spring, summer, and early fall recovering from the fighting, and preparing for further operations to capture Baghdad.
Capture of Baghdad (December 1916 to March 1917)[]
Between May and December 1916, the 13th Division would refit and re-equip in preparation for the drive northward to capture Baghdad. In July, Major-General Maude would be elevated to command the expanded and renamed Mesopotamian Expeditionary Force. In his place, Brigadier General Cayley, formerly the commander of the 39th Brigade, would be elevated to command of the division.[22]
On 12 December 1916, the division would advance from Sheik Sa'ad on Kut.[23] At the Second Battle of Kut, the division would help drive the Turkish forces from the town. After a brief pause, the division would drive north, crossing the Diyala River, and finally participating in the capture of Baghdad on 11 March 1917.[24]
Following the capture of Baghdad, the 13th Division fought a number of battles to consolidate British control over the Baghdad vilayet. This included fighting at Dellis Abbas (27–28 March 1917), Duqma (29 March 1917), Nahr Kalis (9–15 April 1917), the passage of the Adhaim (18 Apr 1917) and the Action of the Shatt al ‘Adhaim (30 April 1917). Despite the relative inaction of the British to advance further, the division also fought at the Second and Third Action of Jabal Hamrin (16–20 October 1917 and 3–6 December 1917).[25]
Advance to Mosul (February 1918 to October 1918)[]

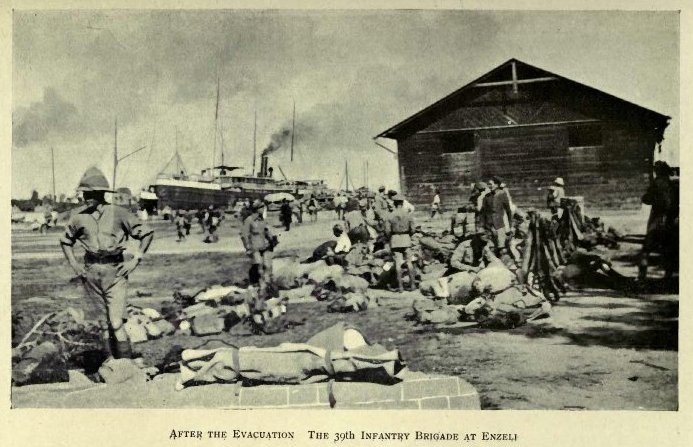
Soldiers of the 39th Brigade at Enzeli after being evacuated from Baku.
Along with the rest of the Mesopotamian Expeditionary Force, the 13th Division would remain in the Baghdad vilayet for the rest of 1917 and the early part of 1918. The division would fight its last engagement as a whole at the Action of Tuz Khurmatli in 29 April 1918. In July 1918, the 39th Brigade would be detached from the division and be assigned to General Lionel Dunsterville's Dunsterforce. The 40th Brigade was detached from the division, along with all of the division's artillery, to support the drive to Mosul and north.
Occupation and Demobilization[]
With the conclusion of the war, the 13th Division remained in the Mosul area on occupation duties until evacuated at the end of 1918. In 1919, two of the division's battalions, 6th East Lancashire and 6th Loyal North Lancashire Regiment, were transferred to the Army of Occupation. The rest of the division proceeded to Amara where it was demobilized on 17 March 1919.[25]
Formation[]
Order of battle[]
The division consisted of the following brigades (as of April 1916):[25]
- 38th Brigade
- (G.O.C.: Brig.Gen. J.W. O'Dowda):
- 6th Battalion, King's Own (Royal Lancaster Regiment)
- 6th Battalion, East Lancashire Regiment
- 6th Battalion, Prince of Wales's Volunteers (South Lancashire Regiment)
- 6th Battalion, Loyal North Lancashire Regiment
- 39th Brigade
- (G.O.C. Brig.Gen. J. de S. Cayley):
- 9th Battalion, Royal Warwickshire Regiment
- 7th Battalion, Gloucestershire Regiment
- 9th Battalion, Worcestershire Regiment
- 7th Battalion, Prince of Wales's (North Staffordshire Regiment)
- 40th Brigade
- (G.O.C: Brig.Gen.A.C. Lewin)
- 8th Battalion, Cheshire Regiment
- 8th Battalion, Royal Welch Fusiliers
- 4th Battalion, South Wales Borderers
- 5th Battalion, Duke of Edinburgh's (Wiltshire Regiment)
- Divisional Troops
- 8th Battalion, Welch Regiment
- 88th Company Royal Engineers
- 72nd Company Royal Engineers
- Divisional Artillery
- 66th Brigade, RFA
- D/69th Battery (Howitzers), RFA
- Heavy Brigade, R.G.A. (77th Heavy Battery and 1 section 1/104th Heavy Battery)
- 26th (Jacobs) Mountain Battery (joined 23 October 1917, left 10 August 1918)[25]
Commanders of the 13th Division[]
| August 1914–November 1914 | Maj.Gen. Robert Kekewich |
| June 1915 - September 1915, | Lt.Gen. Rt.Hon. Sir F.C. Shaw |
| September 1915 - July 1916 | Maj.Gen Sir Frederick Stanley Maude |
| July 1916 - March 1919(?), | Brig.Gen. J. de S. Cayley |
Campaigns[]
- Battle of Gallipoli
- Battle of Sari Bair 6-10 Aug 1915.
- Battle of Chunuk Bair
- Russell’s Top. 7 Aug 1915.
- Hill 60. 21 Aug and 27-28 Aug 1915.
- Evacuation of Suvla. 19-20 Dec 1915
- Last Turkish attack at Helles. 7 Jan 1916.
- Evacuation of Helles. 7-8 Jan 1916.
- Battle of Sari Bair 6-10 Aug 1915.
- Mesopotamian campaign
- Siege of Kut
- Capture of Hanna and Fallahiya. 5 Apr 1916.
- Second attack on Sannaiyat. 9 Apr 1916.
- Action of Bait ‘Isa. 17-18 Apr 1916.
- Third attack on Sannaiyat. 22 Apr 1916.
- Fall of Baghdad
- Capture of the Hai Salient. 25 Jan-5 Feb 1917.
- Capture of the Dahra Bend. 9-16 Feb 1917.
- Passage of the Diyala. 7-10 Mar 1917.
- Occupation of Baghdad. 11 Mar 1917.
- Siege of Kut
- Dellis Abbas. 27-28 Mar 1917.
- Duqma. 29 Mar 1917.
- Nahr Kalis. 9-15 Apr 1917.
- Passage of the ‘Adhaim. 18 Apr 1917.
- Action of the Shatt al ‘Adhaim. 30 Apr 1917.
- Second action of Jabal Hamrin. 16-20 Oct 1917.
- Third action of Jabal Hamrin. 3-6 Dec 1917.
- Tuz Khurmatli. 29 Apr 1918.
See also[]
References[]
- ↑ 6 November 1914, New York Times
- ↑ [1]|13th (Western) Division at The Regimental Warpath 1914 - 1918. Accessed 10 August 2009. Archived 13 August 2009.
- ↑ C.E. Callwell, The Life of Sir Stanley Maude, Lieutenant-General, K.C.B., C.M.G., D.S.O., (London: Constable and Company, Ltd., 1920) p.161.
- ↑ C.E.W. Bean, The Story of ANZAC: From 4 May 1915, to the Evacuation of the Gallipoli Peninsula, 11th ed., (Sydney: Halstead Press Pty, Ltd., 1941) p. 644.
- ↑ C.E.W. Bean, pp. 709–714.
- ↑ C.E. Callwell, p. 160.
- ↑ C.E. Callwell, pp. 160 - 162.
- ↑ C.E. Callwell, p. 162.
- ↑ Major-General Sir Stanley Maude diary quoted in C.E. Callwell, p. 176
- ↑ C.E. Callwell, pp. 180 - 181.
- ↑ C.E. Calwell, pp. 183 - 184.
- ↑ C.E. Calwell, pp. 182 - 183
- ↑ C.E. Callwell, p. 189.
- ↑ C.E. Callwell, pp. 199–203
- ↑ Sir George Buchanan The Tragedy of Mesopotamia, (London: William Blackwood & Sons Limited, 1938) p. 61
- ↑ A Grave Memorial for Robert Fountains Addison VC
- ↑ Brig-Gen. F.J. Moberly, History of the Great War Based on Official Documents: The Campaign In Mesopotamia 1914-198, vol. II, (London: His Majesty's Stationery Office, 1923) p. 388.
- ↑ Moberly, vol.II, p.419-420.
- ↑ C.E. Callwell, p. 215
- ↑ Majore-General A.G. Wauchope, A History of The Black Watch (Royal Highlanders) In The Great War, 1914 - 1918 (London: The Medici Society Limited, 1925)p. 229
- ↑ Dane, vol. I, p. 208-209.
- ↑ C.E. Callwell, p. 228.
- ↑ C.E. Callwell, p. 231.
- ↑ Edmund Candler, The Long Road to Baghdad, vol. II, (New York: Cassells and Company, 1919), pp. 89–96
- ↑ 25.0 25.1 25.2 25.3 The Long, Long Trail|The 13th (Western) Division in 1914-1918. Accessed 10 August 2009. Archived 13 August 2009.
Sources[]
- Barker, A.J. (1967). The Bastard War: The Mesopotamian Campaign of 1914–1918. New York: Dial Press.
- Bean, C.E.W. (1941). The Story of ANZAC: From 4 May 1915 to the Evacuation of The Gallipoli Peninsula Eleventh Edition. Angus and Robertson, Ltd..
- Candler, Edmund (1919). The Long Road To Baghdad. Cassell and Company.
- Keegan, John (2000). The First World War. Vintage Canada and colophon.
- Moberly, Brig.-Gen. F.J. (1923). History of the Great War Based on Official Documents: The Campaign in Mesopotamia 1914–1918. His Majesty's Stationery Office. ISBN 0-89839-268-3.
- Wilson, Lieutenant-Colonel Sir Arthur T. (1969). Loyalties: Mesopotamia 1914–1917. Greenwood Press, Publishers.
External links[]
The original article can be found at 13th (Western) Division and the edit history here.